Google Search Consoleサイトマップの送信方法
Google Search Consoleにドメインプロパティを追加して、XMLサイトマップを送信しました。
そのときの送信手順を書き留めておきます。
ドメインプロパティの追加
Google Search Consoleにアクセスして、ドメインプロパティを追加します。
https://search.google.com/search-console/
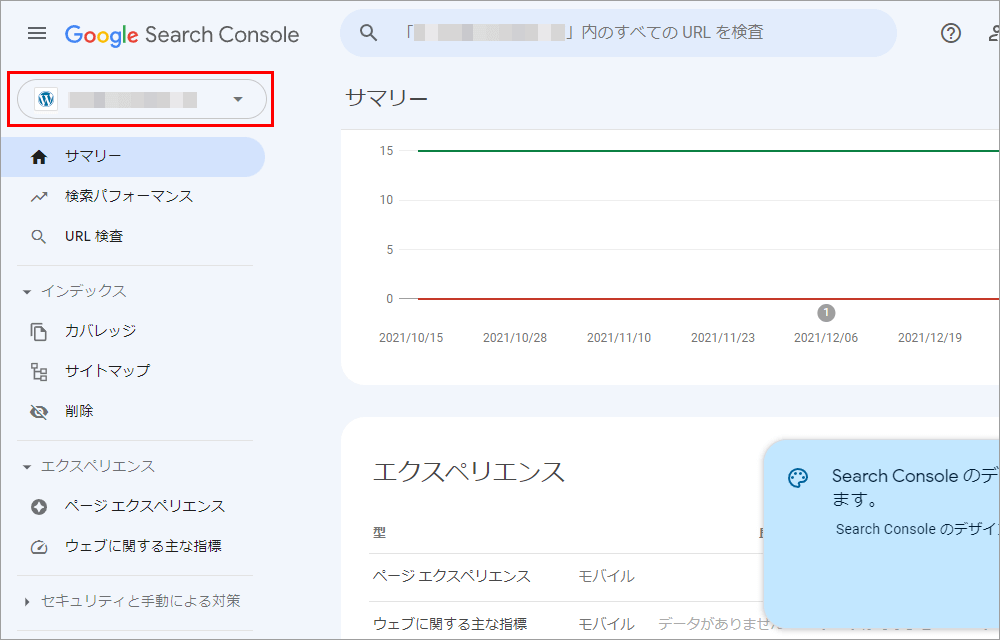
既存の「プロパティ」をクリック。
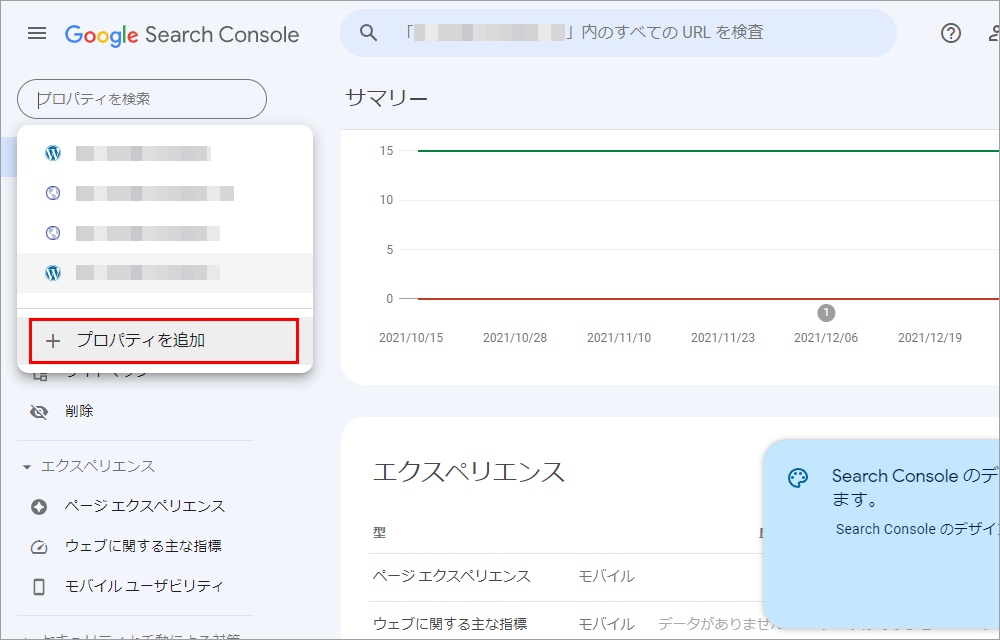
「プロパティを追加」をクリック。
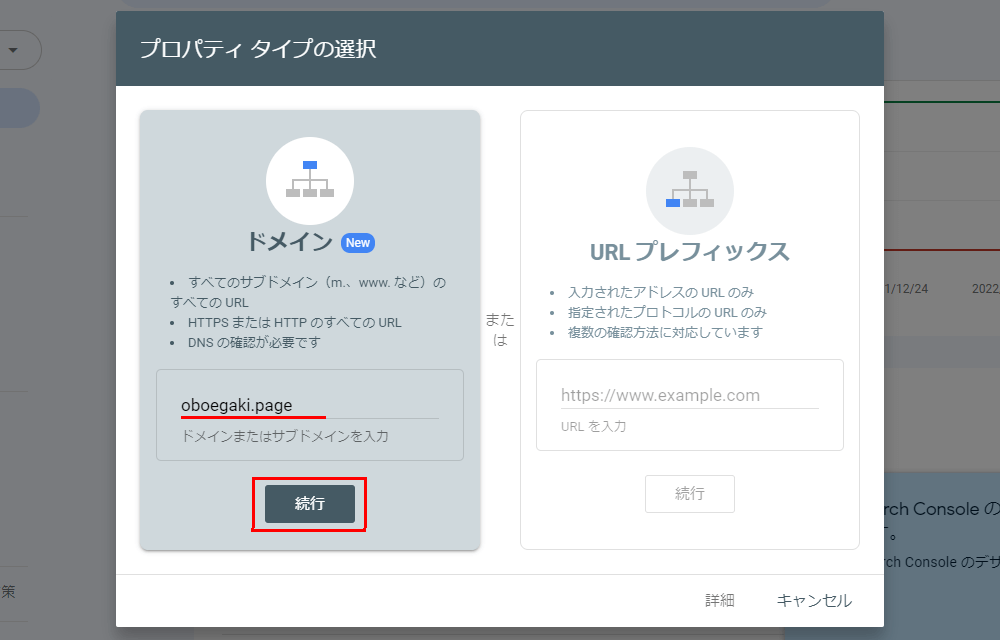
ドメインを入力して、「続行」をクリック。
このあと、「DNSレコードでドメインの所有権確認」が表示されるはずですが、Google domains(提携サービス)で管理しているドメインの場合は、自動的に確認してくれるようです。所有権の確認方法については、Search Consoleヘルプに記載されています。
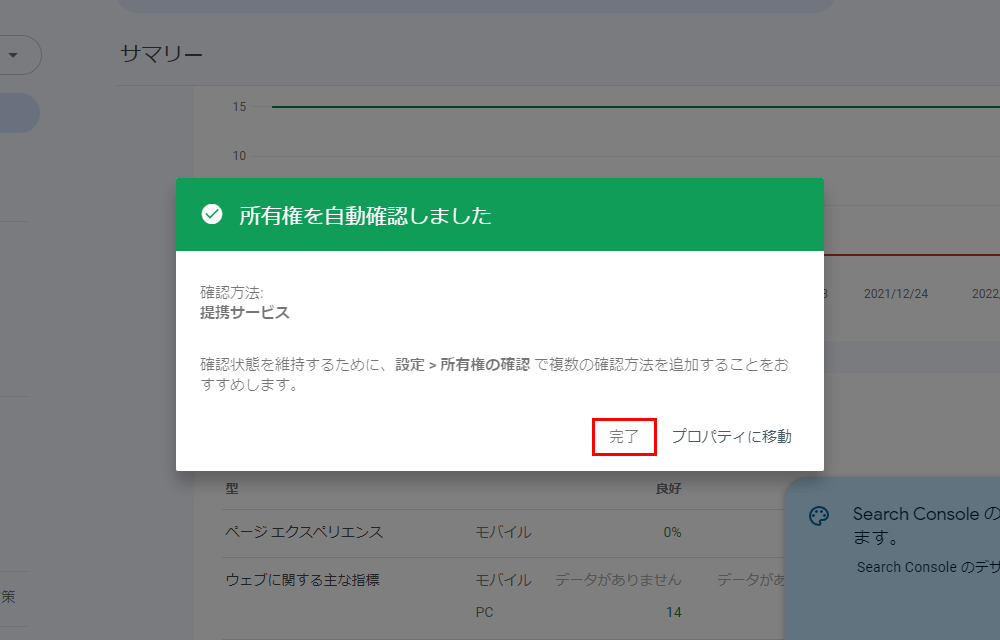
「完了」をクリック。
ドメインプロパティの追加は以上です。
XMLサイトマップの送信
WebサイトのXMLサイトマップを送信します。
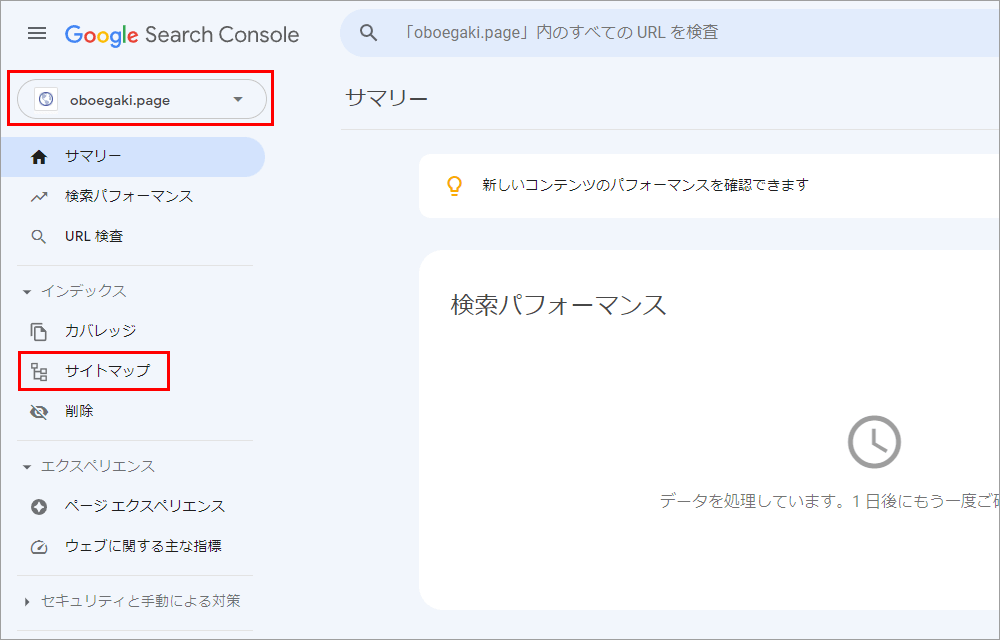
追加したドメインプロパティの「サイトマップ」をクリック。
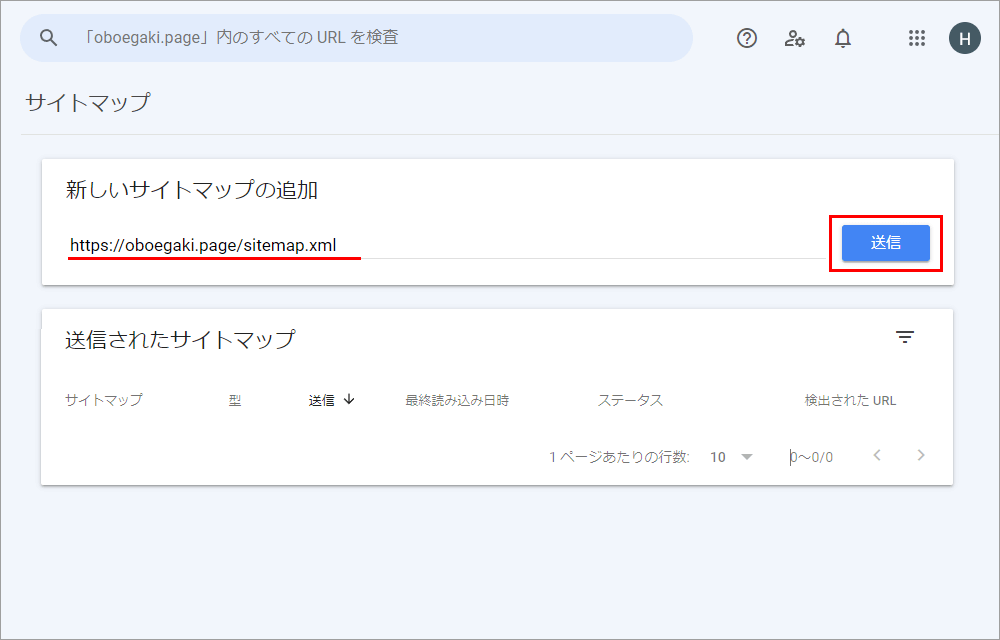
サイトマップのURLを入力して、「送信」をクリック。
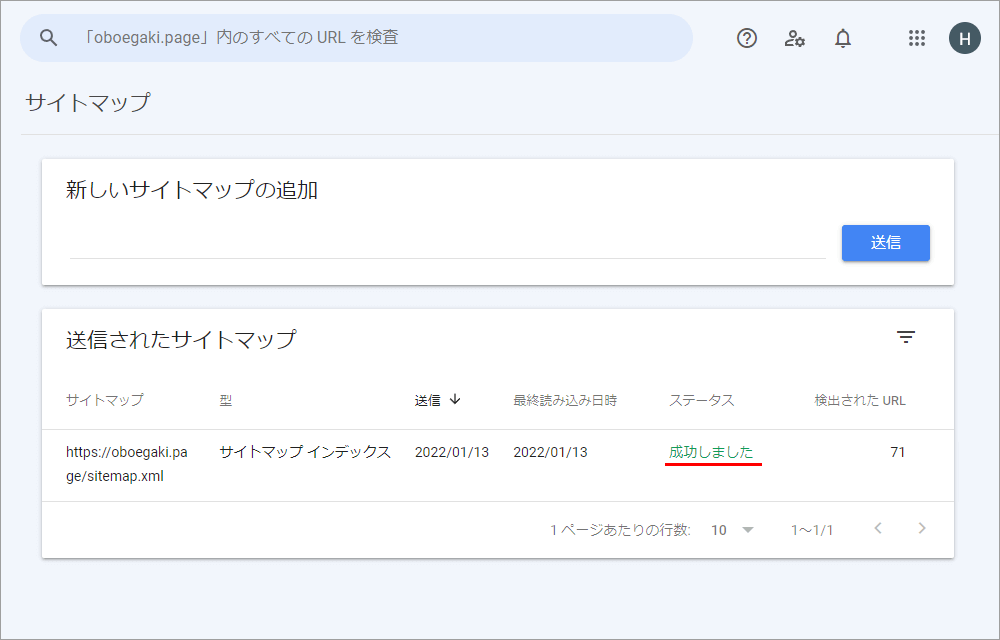
成功しましたが表示されます。

RSSのURLを入力して、「送信」をクリック。
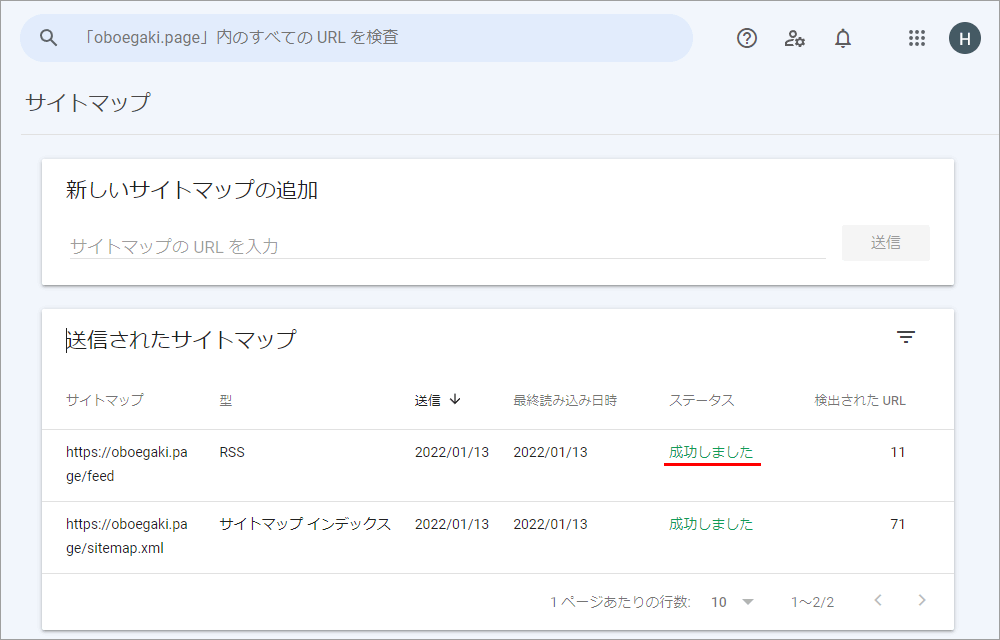
成功しましたが表示されます。
XMLサイトマップの送信は以上です。