サイト公開前にAndroid Studio(エミュレータ)でブラウザチェック
実機により近い環境でWebサイトの表示確認をしたかったので、MacにAndroid Studio(Bumblebee)をインストールしました。
少し重いけどAndroid Studioいいです。
Google Pixelをはじめ、色々なデバイスが用意されています。
Android Studioのインストール
Android developersからディスクイメージファイルを入手します。
https://developer.android.com/studio?hl=ja

「Download Android Studio」をクリック。
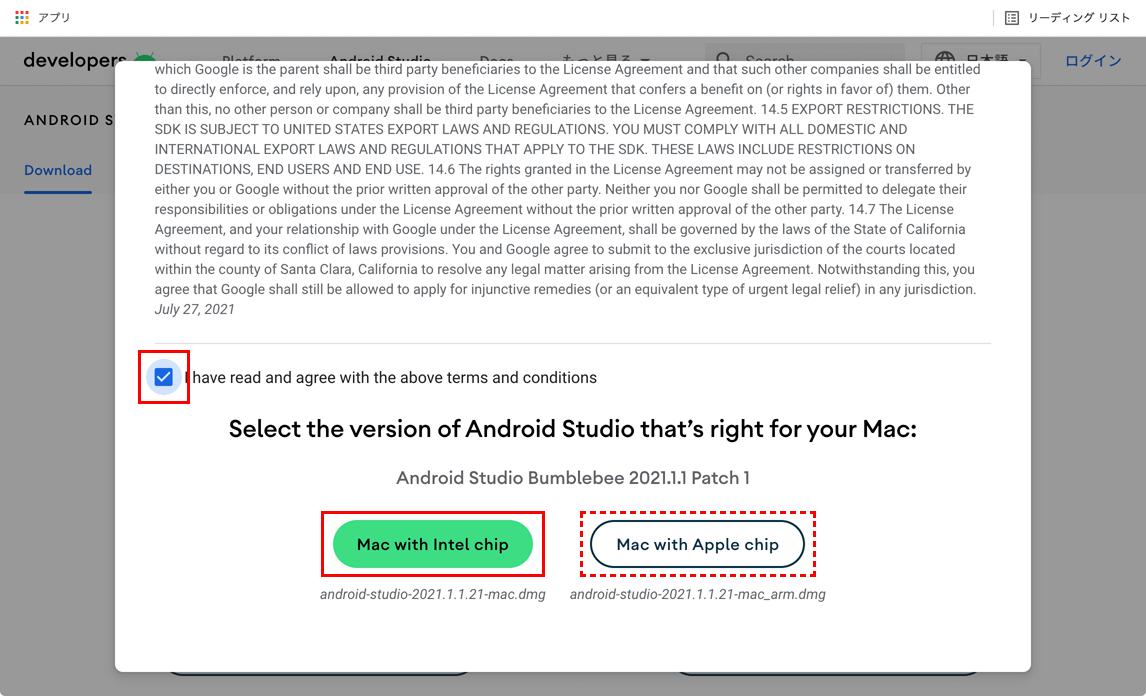
利用規約に同意できたらチェックを入れて、Intelプロセッサの場合は「Mac with intel chip」をクリック。
Appleシリコンの場合は、「Mac with Apple chip」をクリック。
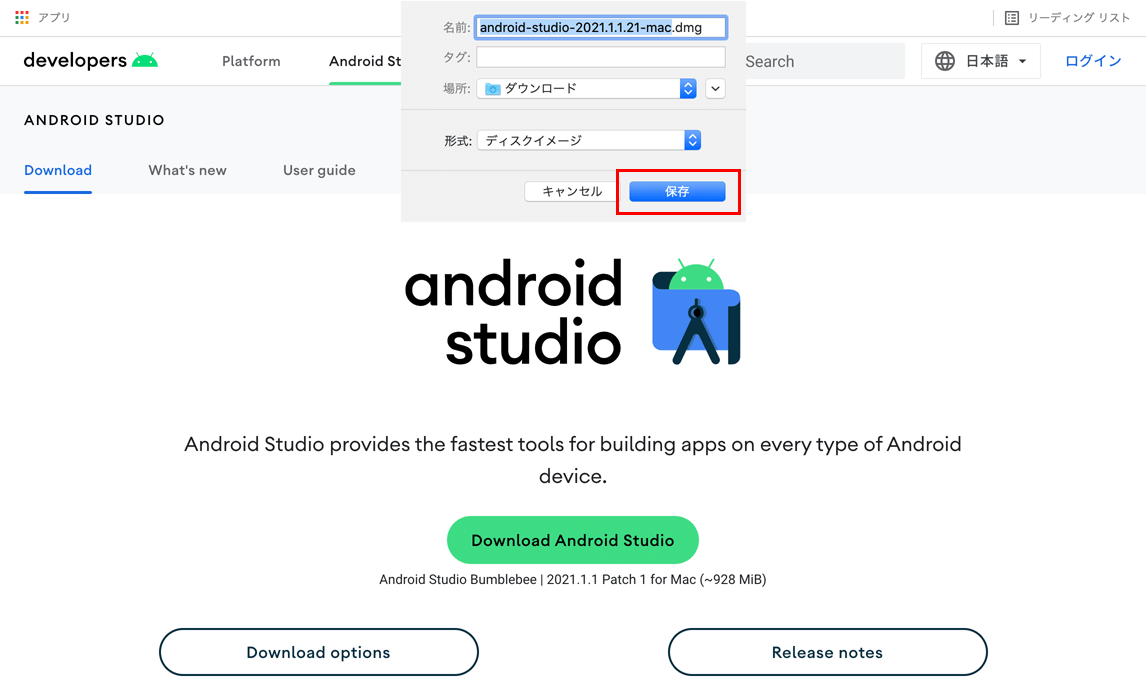
任意の保存場所を指定して、「保存」をクリック。
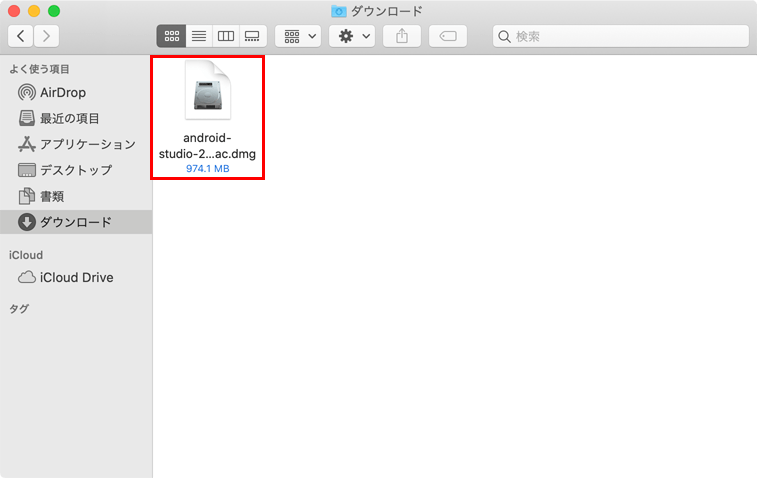
保存した「ディスクイメージファイル(.dmg)」をダブルクリック。
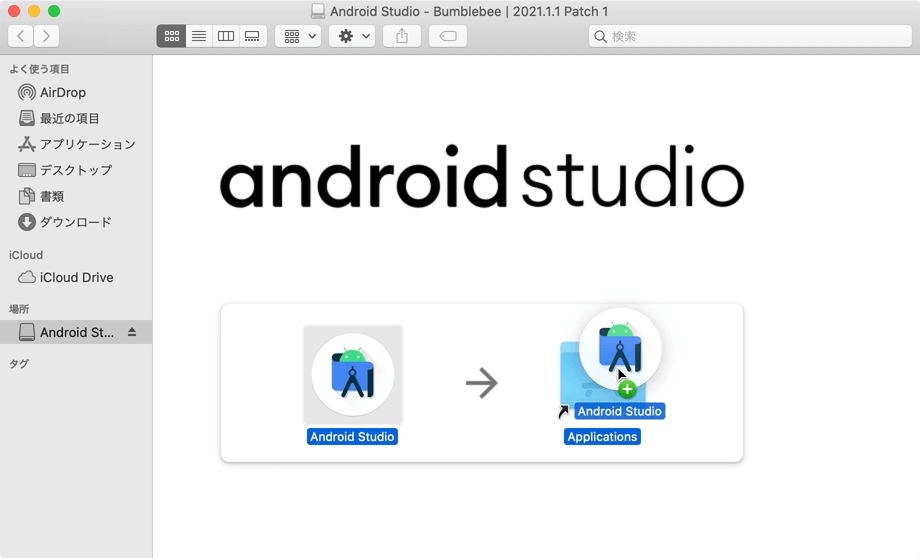
Android StudioをApplicationsフォルダにドラッグアンドドロップ。
Android Studioのインストールは以上です。
Android Studioの初期設定
Android Studioを起動して初期設定をします。
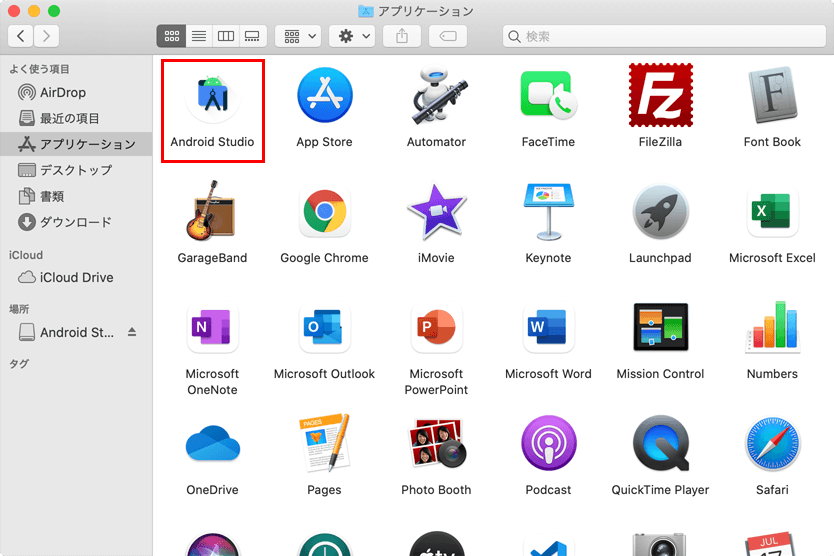
アプリケーションフォルダの「Android Studio」をダブルクリック。
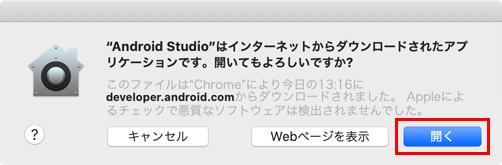
開いてもよろしいですか?が表示されたら、「開く」をクリック。
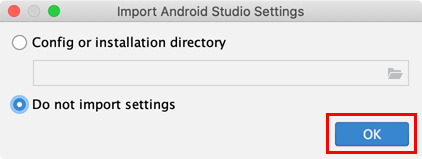
インポートする設定ファイルはないのでDo not import settingsを選択して、「OK」をクリック。
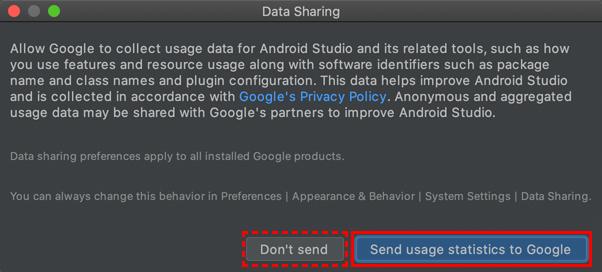
使用状況や動作に関する情報をGoogleに送信してよければ、「Send usage statistics to Google」をクリック。
送信したくなければ、「Don’t send」をクリック。
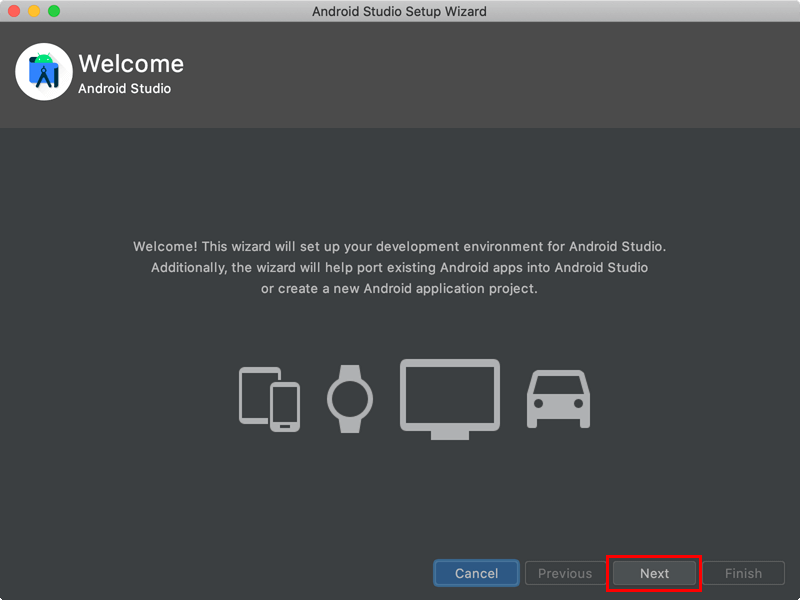
「Next」をクリック。
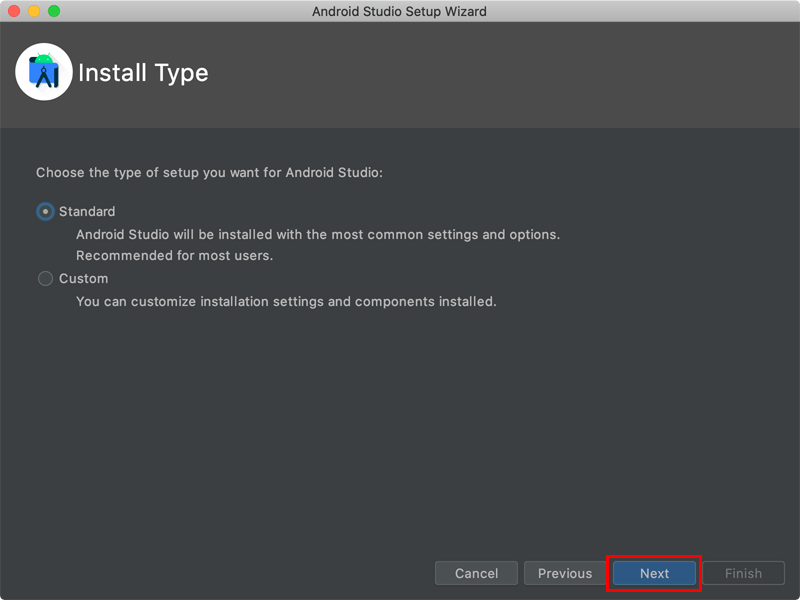
Standardを選択して、「Next」をクリック。
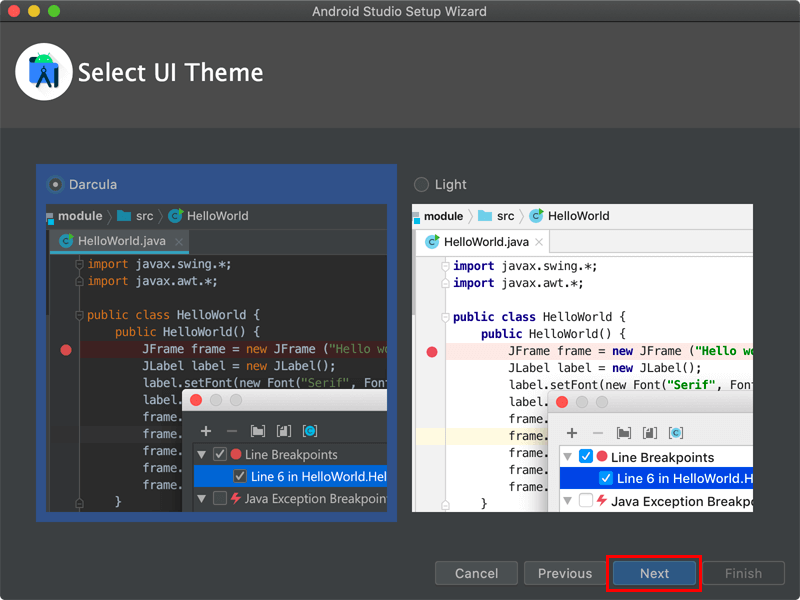
どちらか好きな方のテーマを選択して、「Next」をクリック。
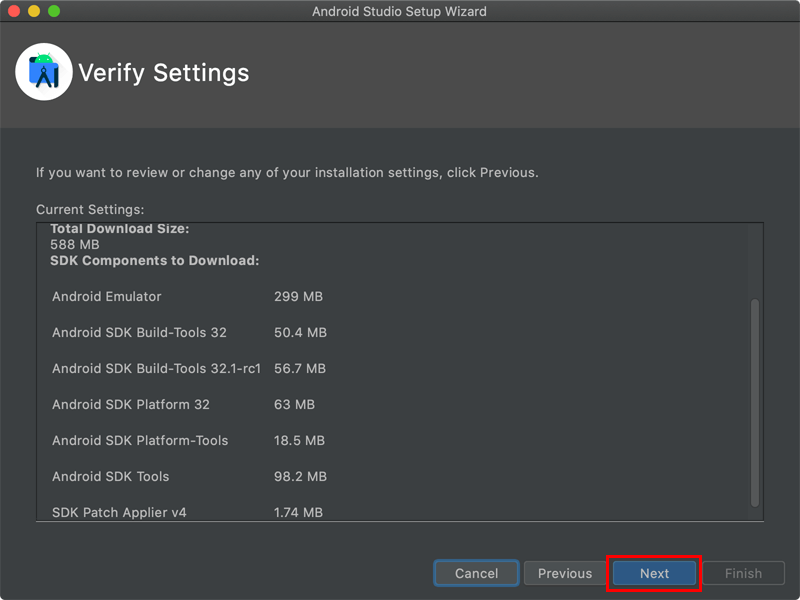
インストール内容を確認して、「Next」をクリック。
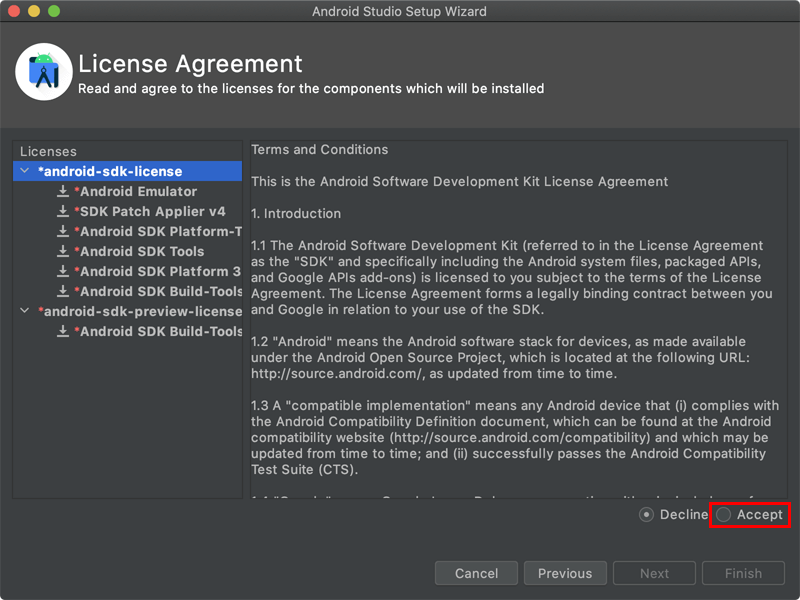
android-sdk-licenseのライセンスを確認して、Acceptをクリック。
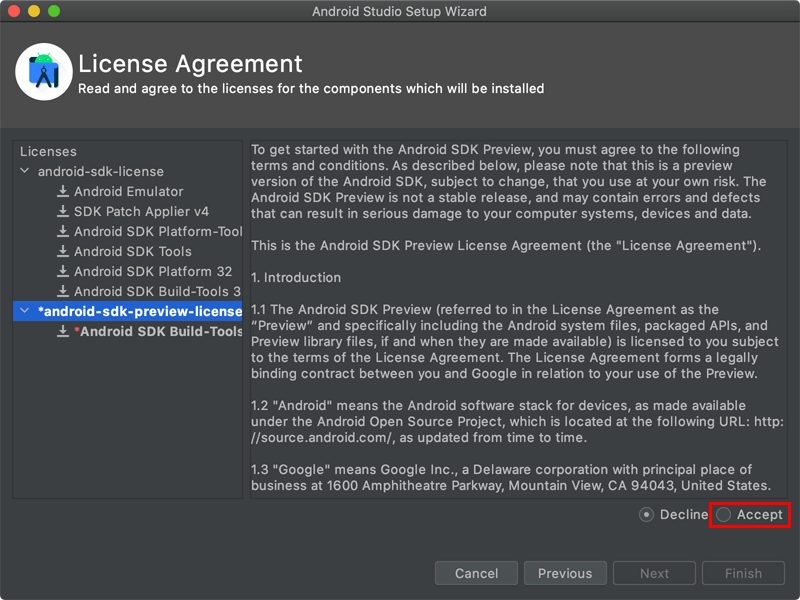
android-sdk-preview-licenseのライセンスを確認して、Acceptをクリック。
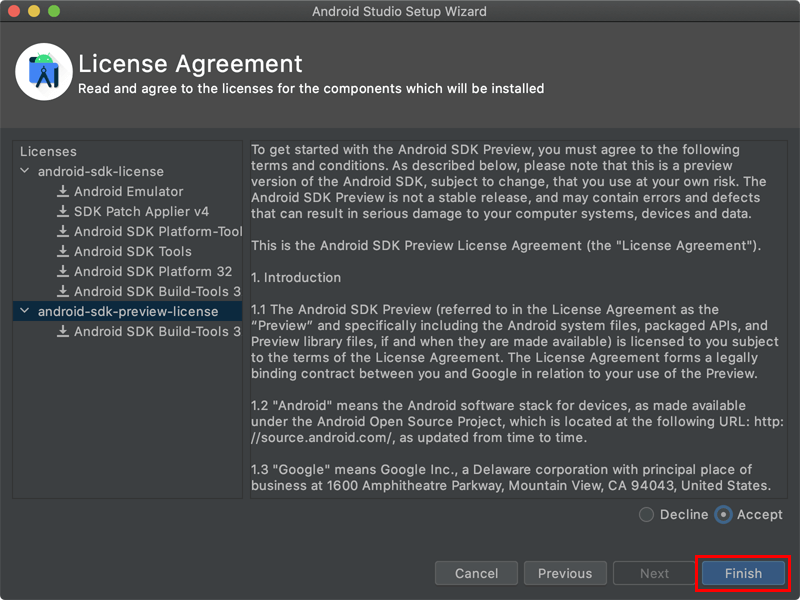
「Finish」をクリック。
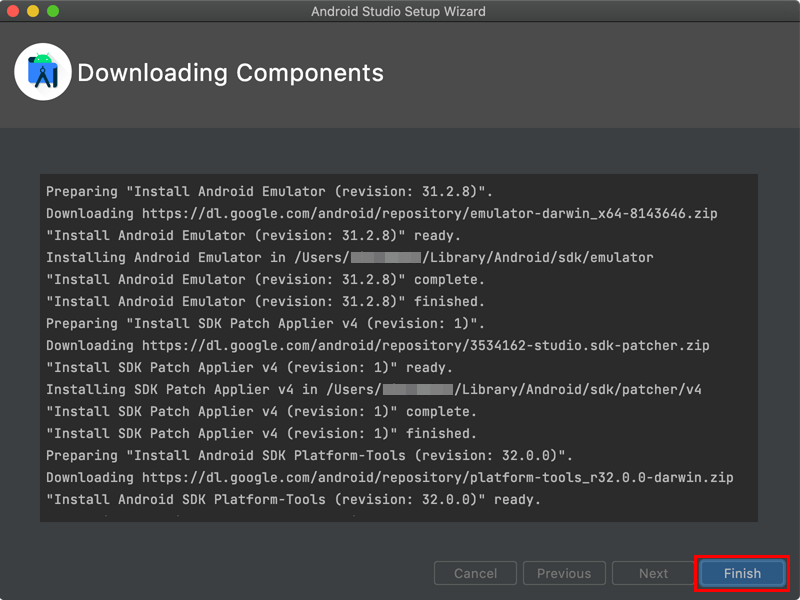
「Finish」をクリック。
Android Studioの初期設定は以上です。
仮想デバイスの作成
Android仮想デバイス(Android Virtual Device)を作成します。
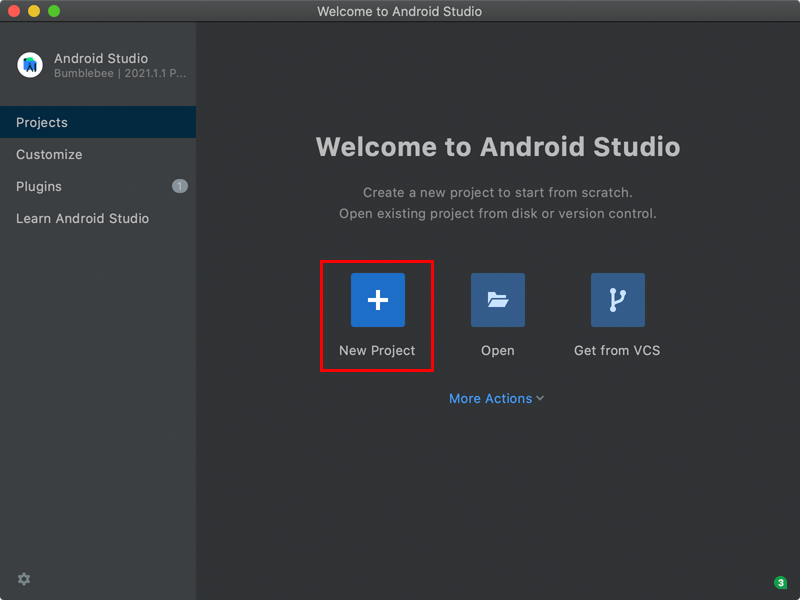
「New Project」をクリック。
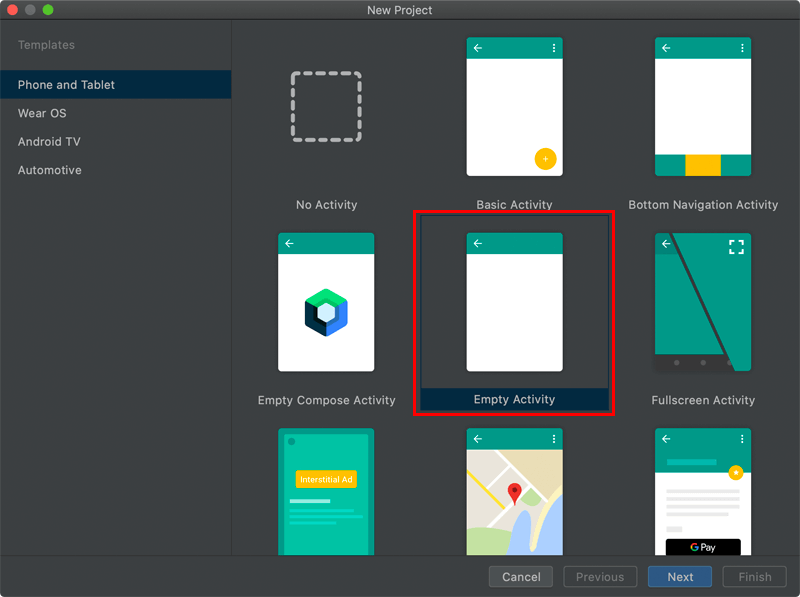
「Empty Activity」をクリック。
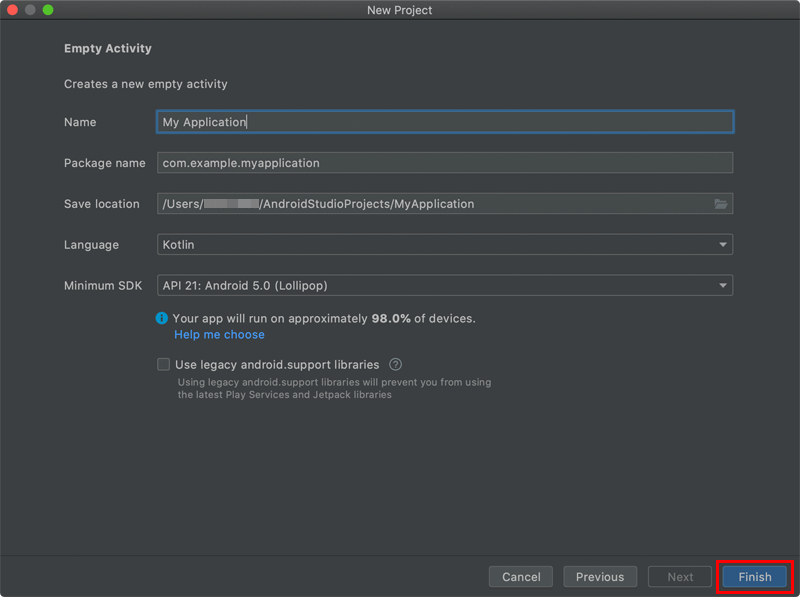
「Finish」をクリック。
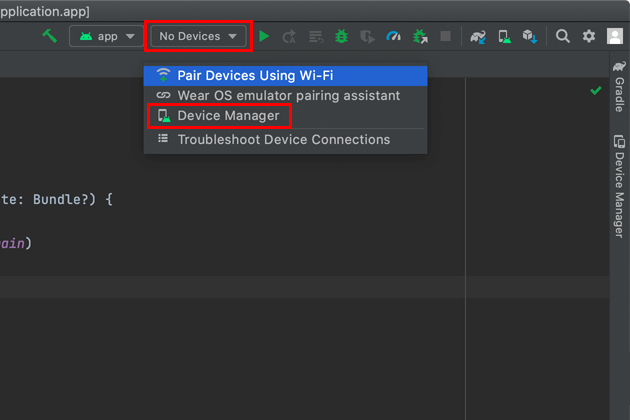
ツールバーの「No Devices」>「Devices Manager」をクリック。
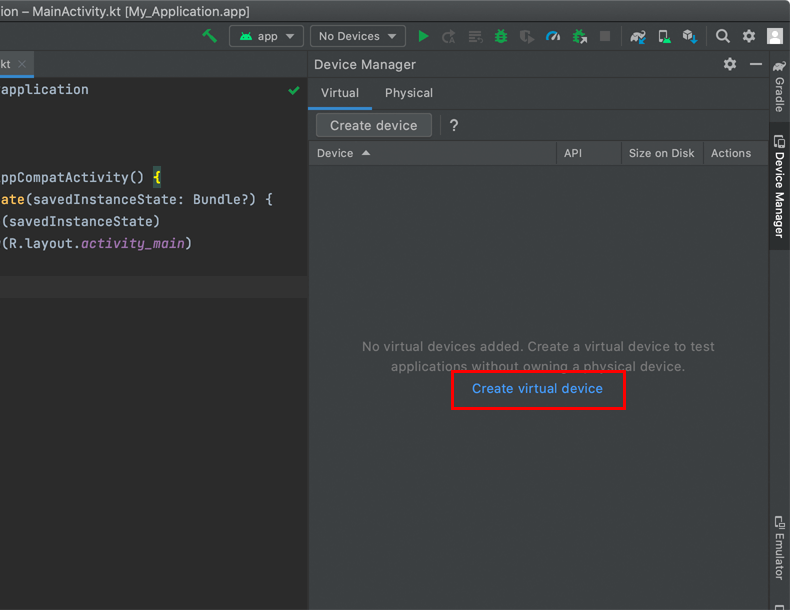
「Create virtual device」をクリック。
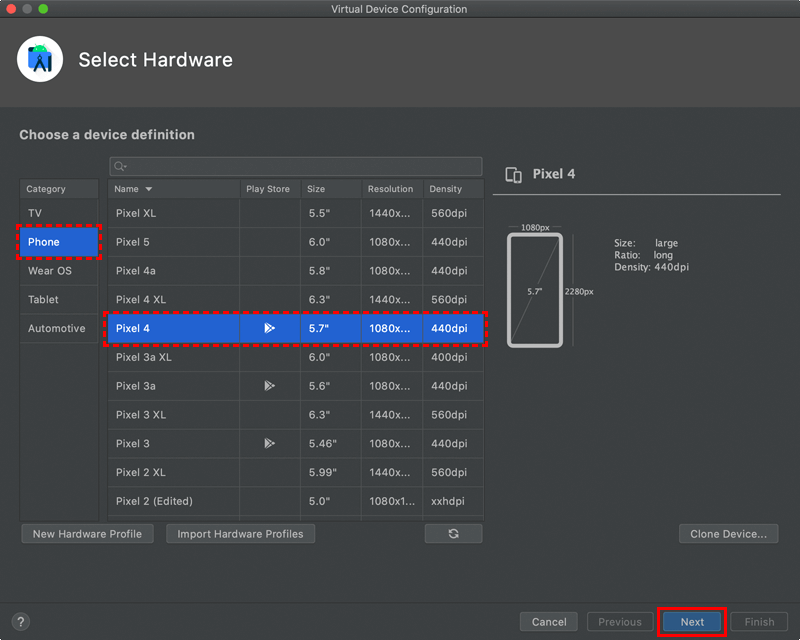
デバイスを選択して、「Next」をクリック。
今回はGoogle Playマークが付いているPixel 4を選択しました。
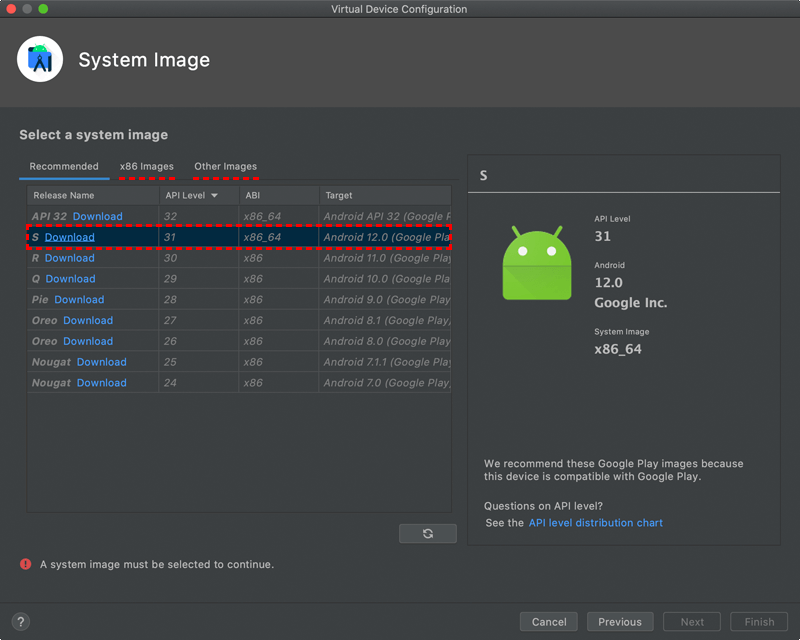
システムイメージを選択して、「Download」をクリック。
x86 ImagesとOther Imagesにもシステムイメージがあります。今回はAPIレベル31、64bitプロセッサ、Android12.0(Google Play)を選択しました。
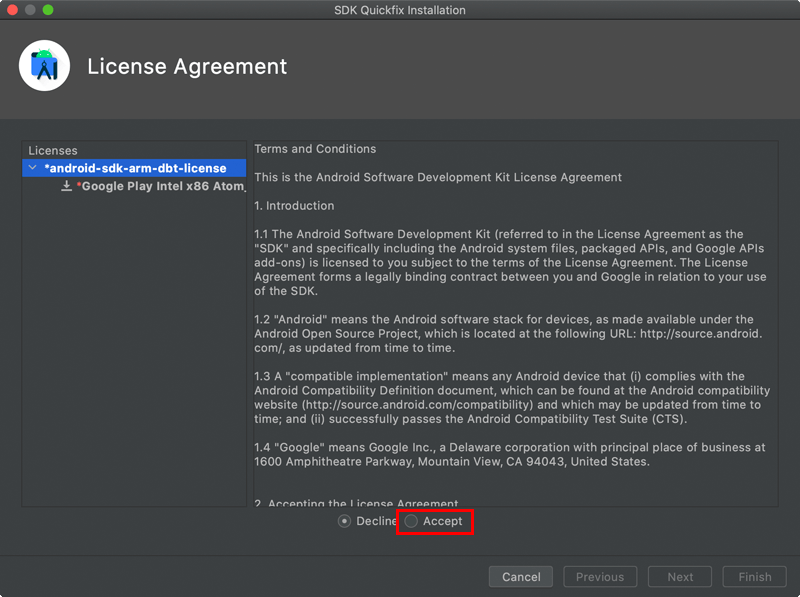
android-sdk-arm-bdt-licenseのライセンスを確認して、Acceptをクリック。
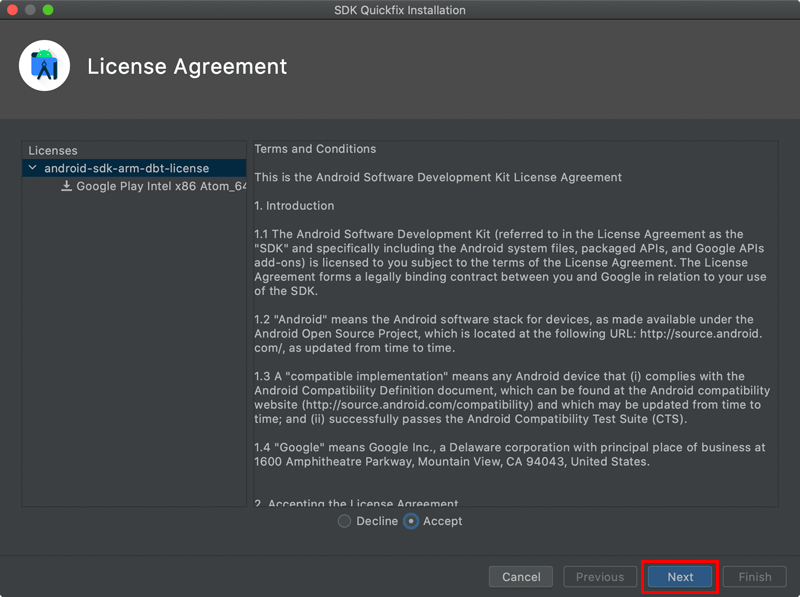
「Next」をクリック。
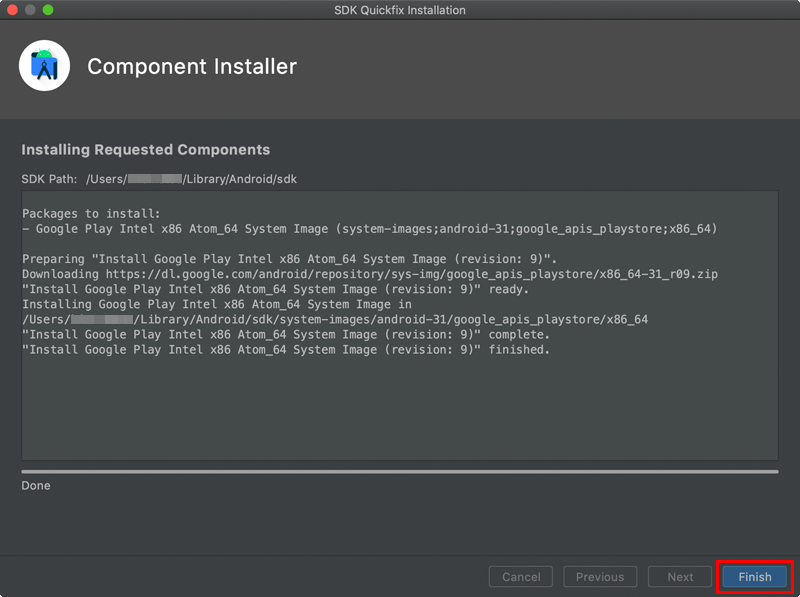
「Finish」をクリック。
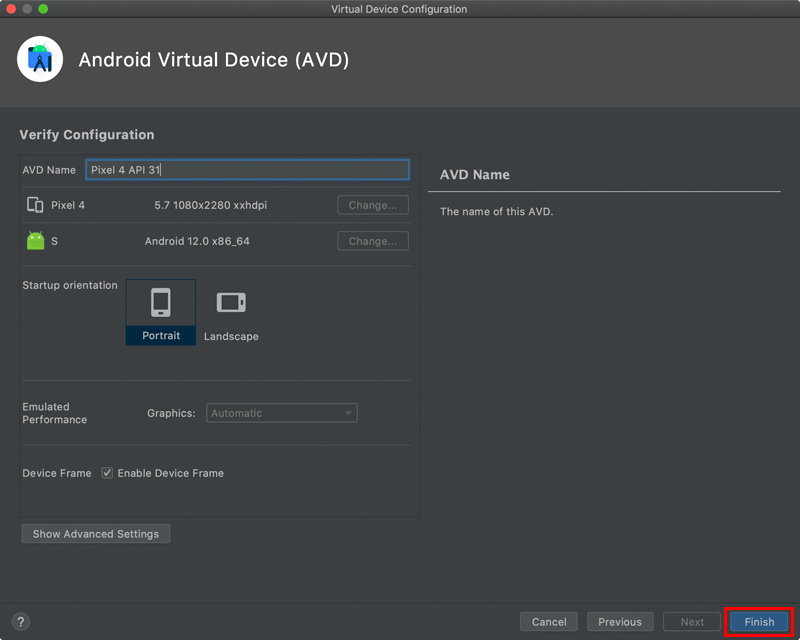
「Finish」をクリック。
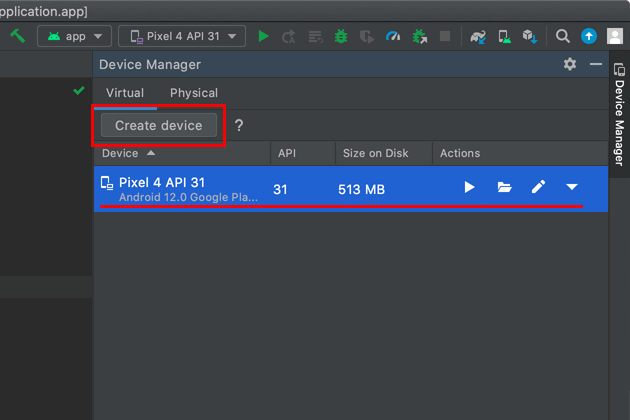
Pixel 4 API 31 Andoroid12.0 Google playが作成されました。デバイスの追加は、「Cleate device」からできます。
仮想デバイスの作成は以上です。
Chromeアプリでブラウザチェック
Android仮想デバイスのChromeアプリを使ってWebサイトの表示確認をします。
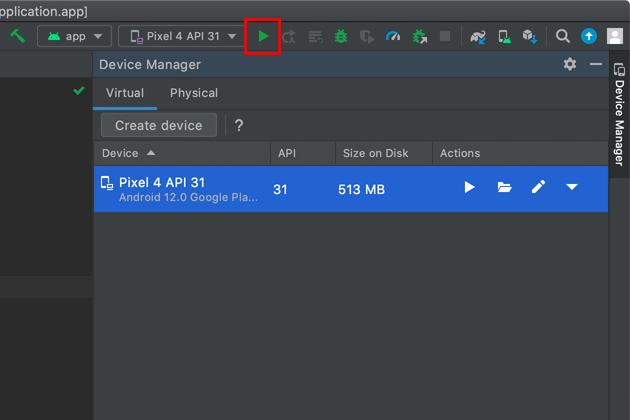
ツールバーの「再生」をクリック。
初回起動時は、デバイスが表示されるまでに少し時間がかかります。
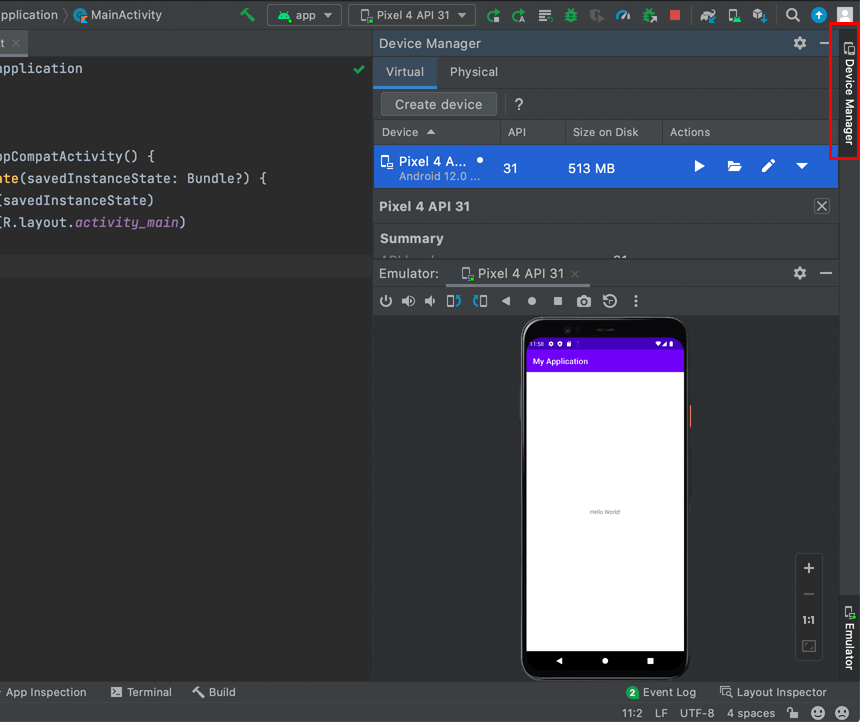
デバイスが表示されたら、「DeviceManager」をクリックして拡大表示します。
仮想デバイスを日本語化
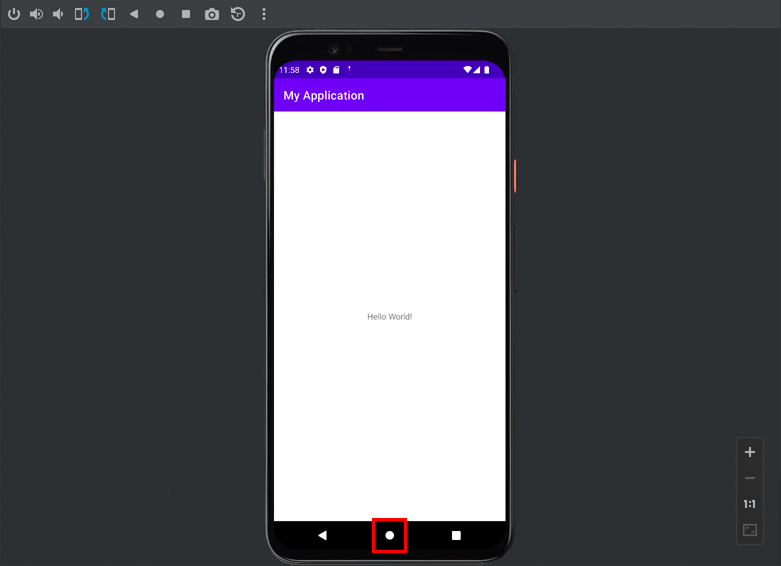
「ホーム」をクリック。
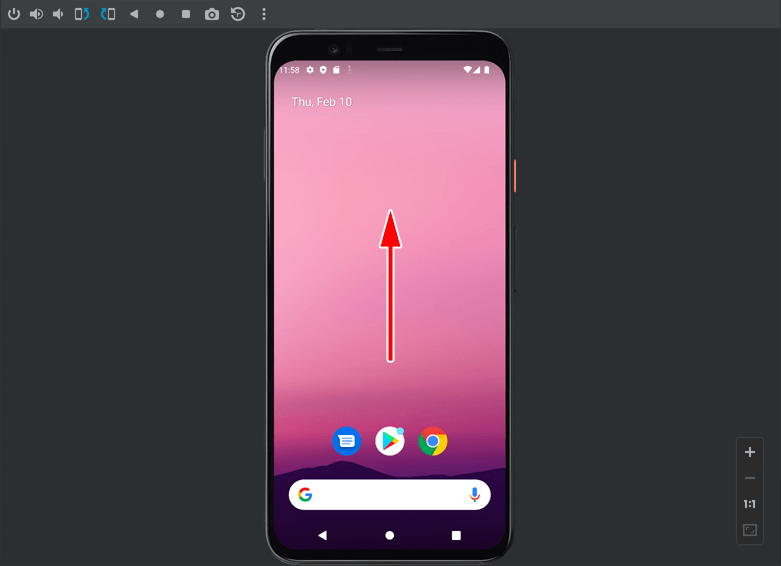
上にスワイプ。
マウスを使用している場合は、左ボタンを押した状態で動かすとスワイプ動作になります。エミュレータ画面を操作する | Android Developers

「Settings」をクリック。
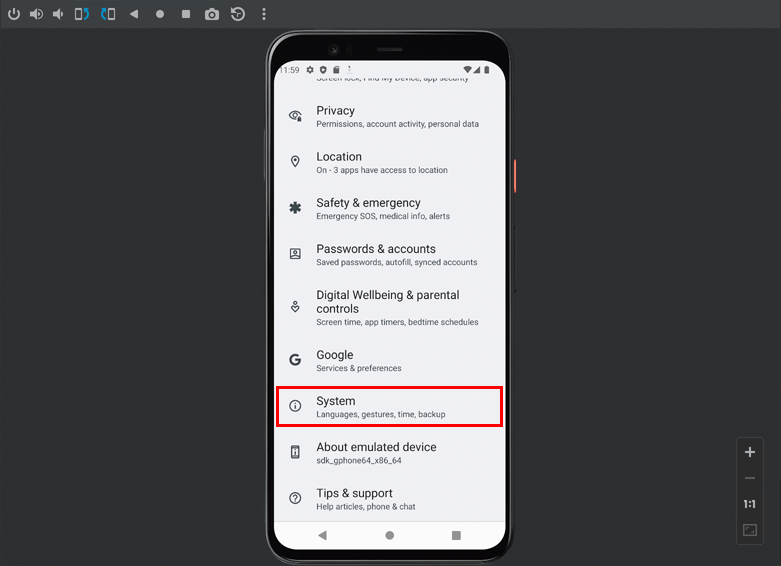
「System」をクリック。
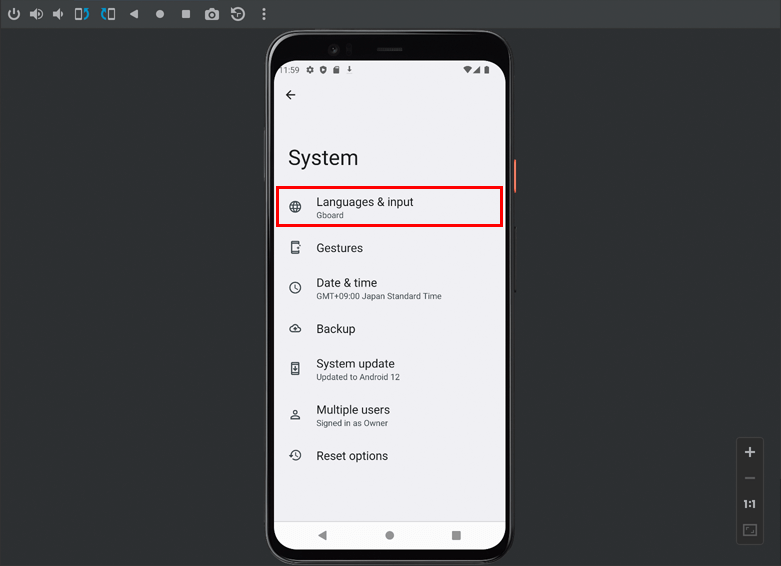
「Language & input」をクリック。
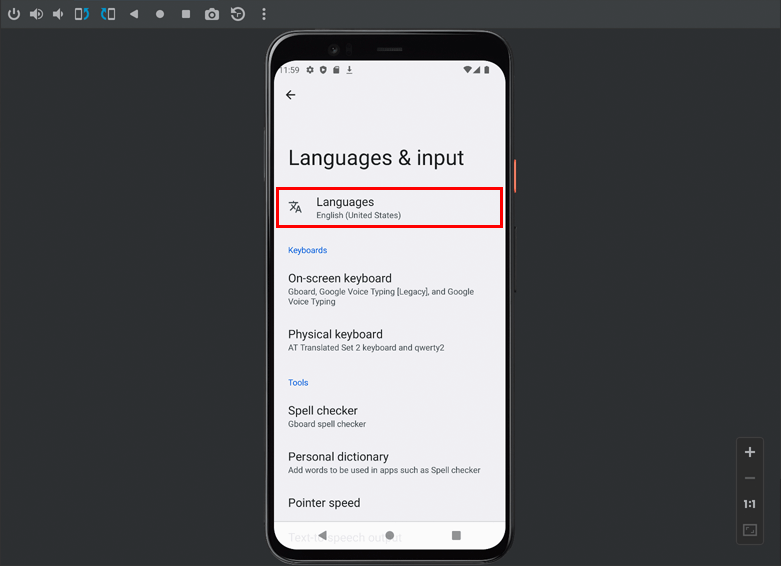
「Languages」をクリック。

「Add a language」をクリック。
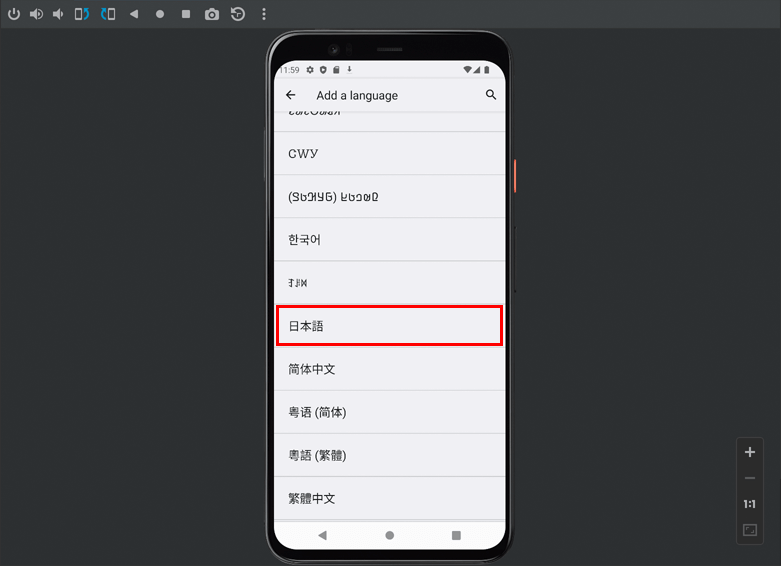
「日本語」をクリック。
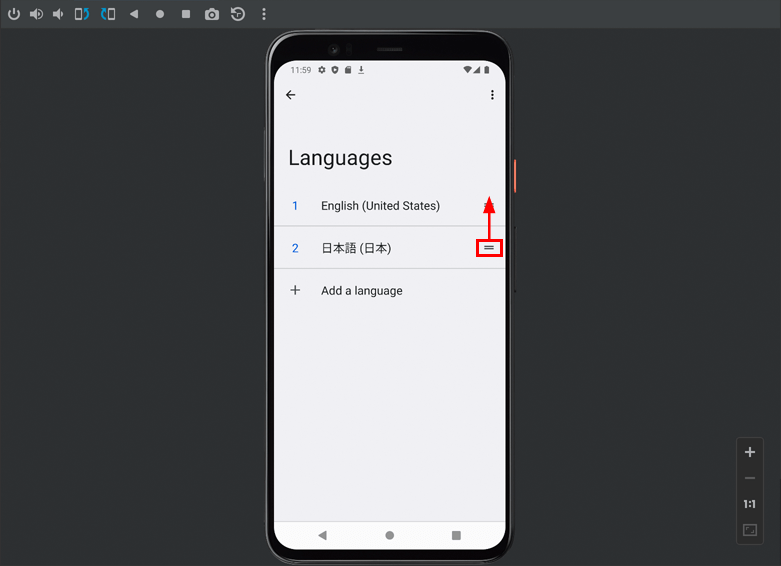
日本語の「=」をEnglishの上にドラッグアンドドロップ。
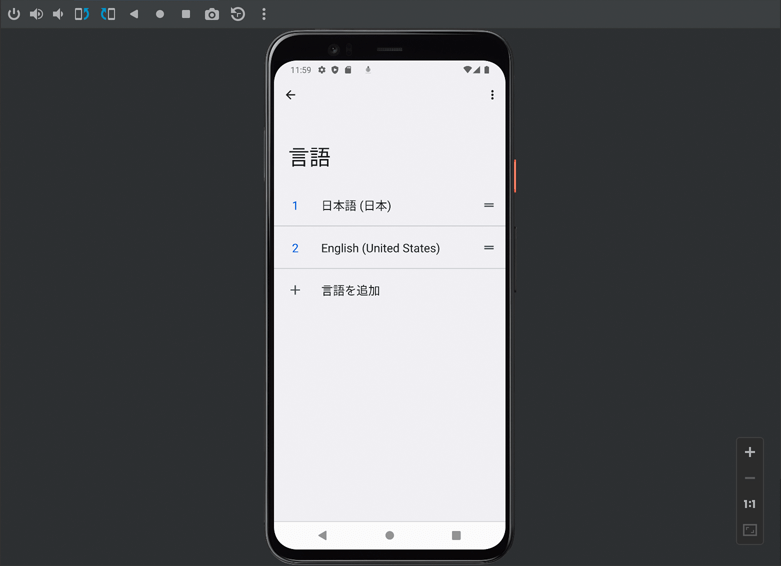
日本語になりました。
CromeアプリでWebサイトの表示確認
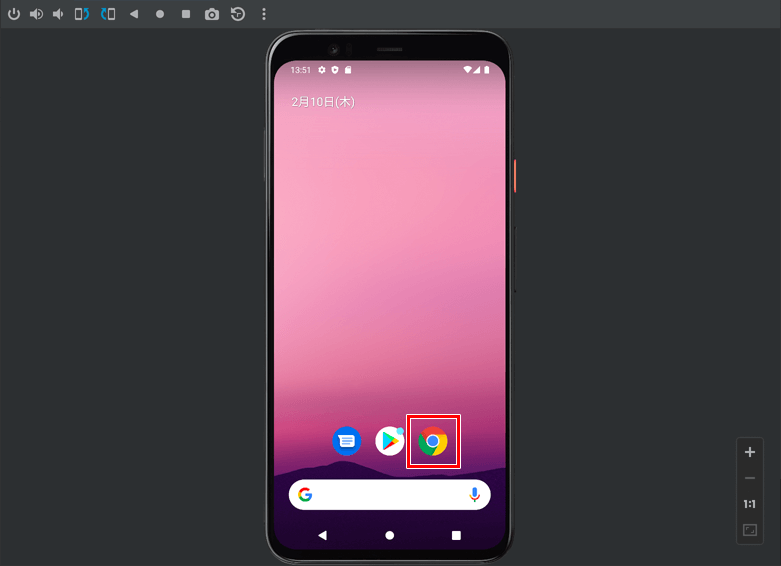
「Chrome」をクリック。
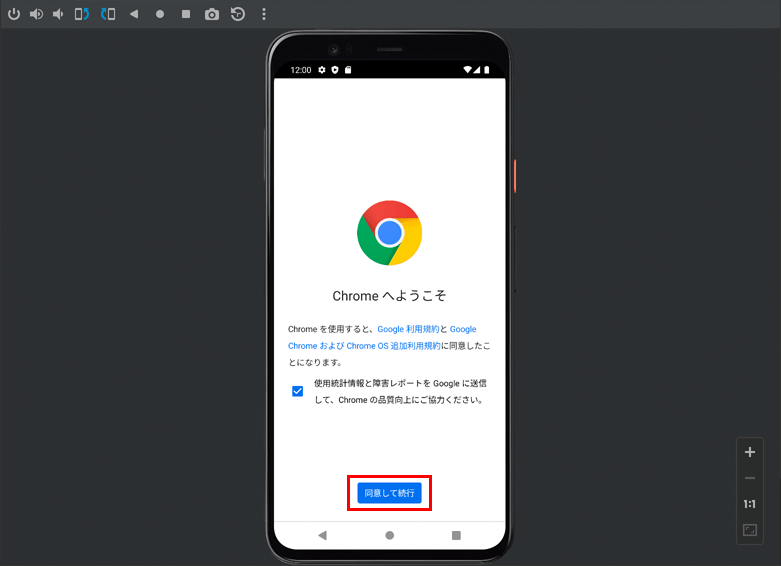
「同意して続行」をクリック。
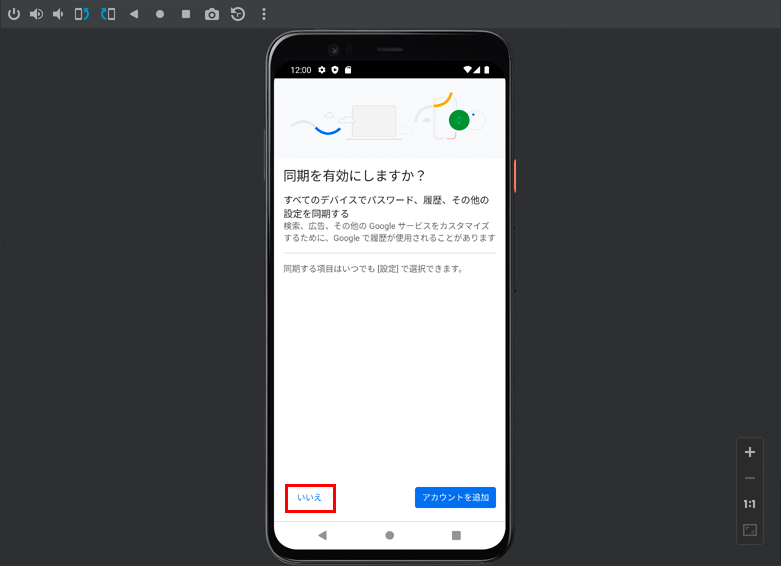
「いいえ」をクリック。
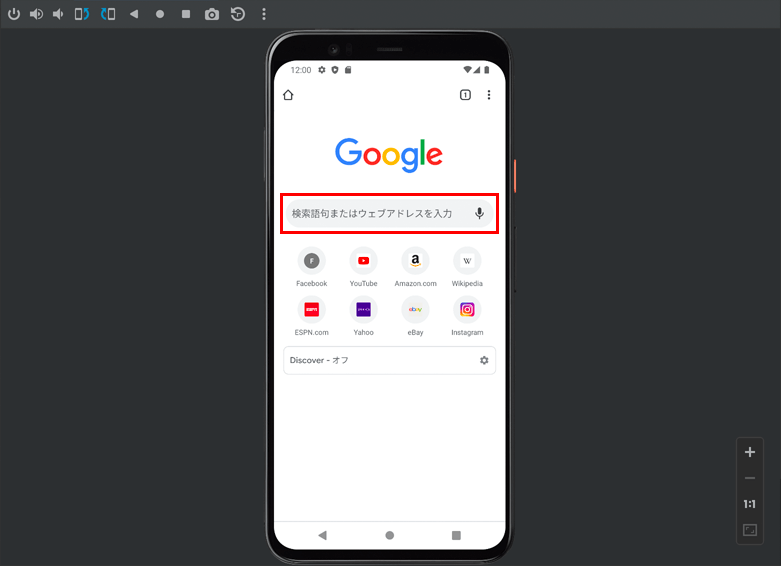
「検索窓」をクリック。
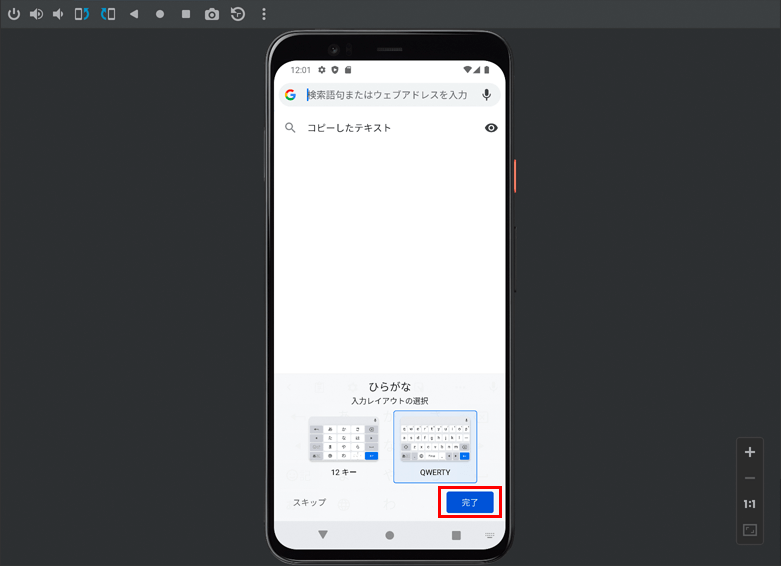
入力レイアウトを選択して、「完了」をクリック。
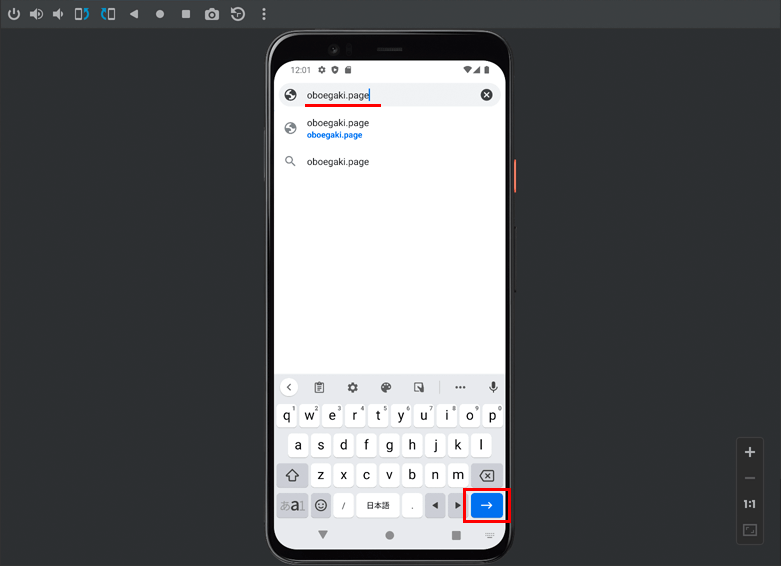
WebサイトのURLを入力して、「→」をクリック。
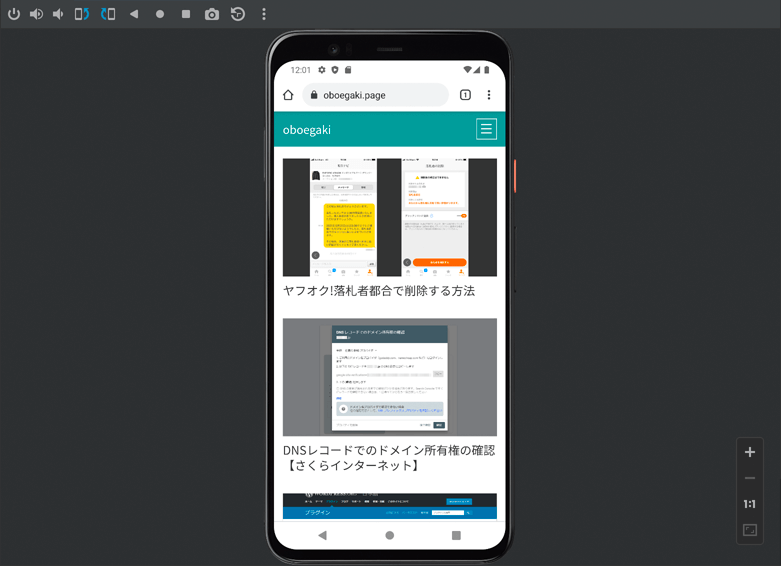
Webサイトの表示確認をします。